

Indoor faucets don’t need a cover, but outdoor faucets do during the chilly winter months. This is because faucets are not used during winter, and if they are left uncovered, water in the faucet may freeze, expand, and damage the faucet and the pipe to which it is connected. If you are late in buying a faucet cover and the store is short of the covers, no need to worry. This blog will help you with a DIY faucet cover.
Why is a Faucet Cover Essential for Outdoor Faucets?
Faucet covers are essential for outdoor faucets because freezing temperatures can damage the pipe connected to the faucet and even cause it to burst. Covers act as insulators, trapping heat radiating from indoor plumbing around the tap and preventing freezing and pipe bursting. The best thing is that they are easy to install and affordable. Many homeowners suggest that, even though your outdoor faucet is frost-proof, it’s a good idea to cover it because “Prevention is better than cure.”
DIY Faucet Cover Ideas
There are many things lying around in the house that are barely used or never used. Therefore, using such items to make a faucet cover is a smart option to protect the faucet and the pipe connected to it. Here are some of the DIY ideas:
1. Socks
Materials required
-
Pair of socks (preferable long wool socks, but any socks work)
-
A plastic bag
-
Duct tape
-
Rubber band or zip ties
Steps
- After gathering all the supplies, turn off the faucet, remove any attachments or hoses, and drain the water from the faucet.
- Start folding the socks down over the faucet to create a double layer, then slide them over the faucet or hose bib.
- Then, cover the sock-covered faucet with a plastic bag to protect the sock from rain and strong winds.
- Lastly, secure the plastic bag with a rubber band, zip ties, or duct tape.
2. Layers of Rags or T-Shirt
Another DIY idea is to use rags or t-shirts to cover the faucet to make it as warm as possible. Here are the detailed steps:
Materials required
- Old t-shirts or rags
- A plastic bag
- Duct tape
Steps
- Unscrew the hose or connection from the faucet.
- Then cover the faucet with multiple layers of a t-shirt or rags to warm it.
- Now, cover the covered faucet with one or a pair of plastic bags.
- Finally, tighten the bag by wrapping multiple layers of tape.
3. Old Towel
Grab a towel, wrap it around the faucet, and secure it with layers of duct tape. Though it’s an effective DIY technique for protecting faucets from freezing, it may not be waterproof like many other methods. Therefore, place a plastic bag over the towel before securing the towel with duct tape.
4. Pool Noodle Hack
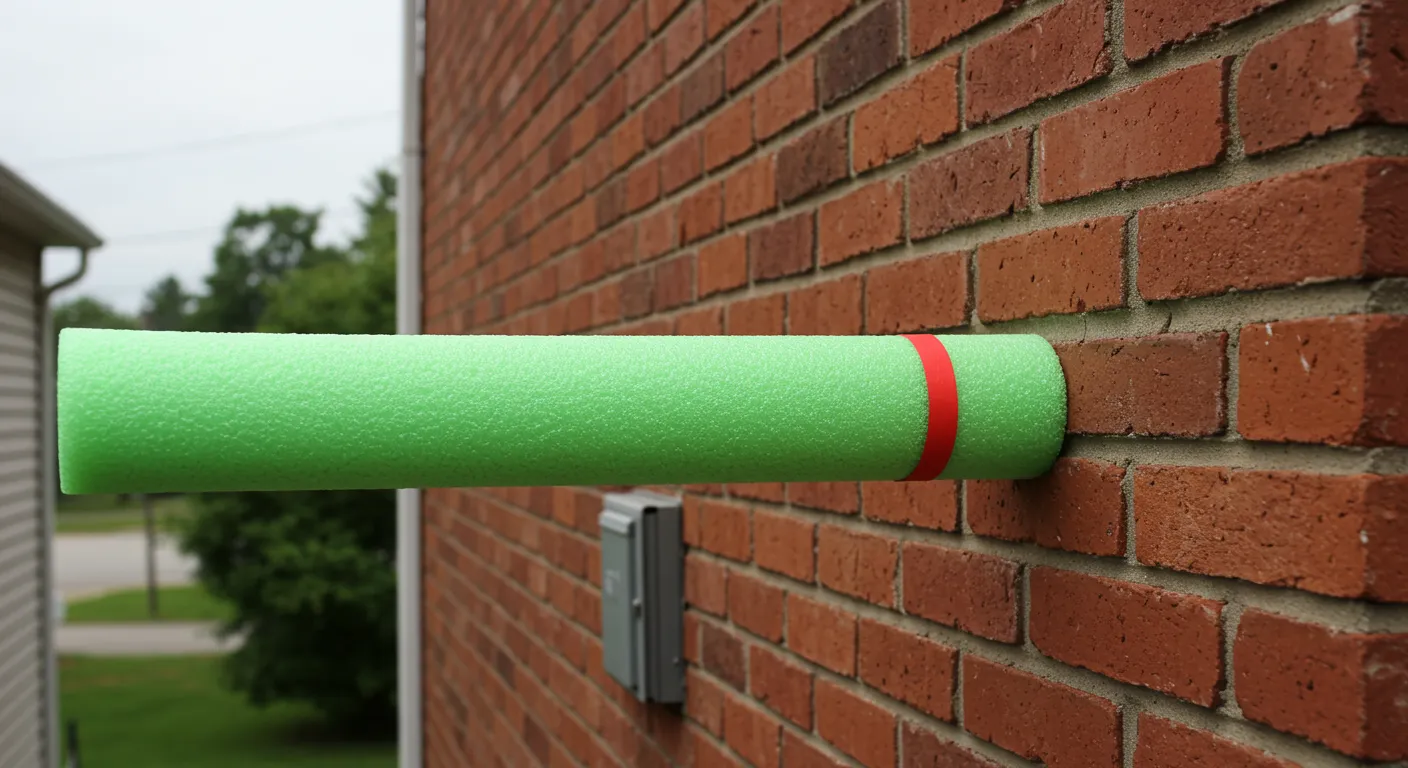
This is an effective DIY method to cover faucets. All you have to do is cut off a portion of the pool noodle just enough to cover the faucet. Make a slit in the noodle halfway down in the center to ensure a wide opening. Now, slide the pool noodle over the faucet and fill the exposed end of the pool noodle with a leftover piece of noodle foam. Finally, wrap layers of tape around the opening to close it.
5. Foam Takeout Cups
Foam takeout cups are primarily used as insulators to keep sodas cold and coffee hot. However, it can also be used to cover the faucet. The steps are easy: make a small hole at the bottom of the cup, and then fold a string in half and put the end of the loop inside the cup. Then, hook the loop over the faucet and pull the cup flush to the wall. Lastly, tie a stick at the end to keep the cup in place.
6. Soda Bottle
Soda bottles are often found in homes. If you have a larger bottle, around 2 liters, cut off the top cone and tie a long string to the faucet. Then, grab a pair of old socks and wrap the faucet, leaving the tail end of the string accessible. Check that the socks are secured in place, then cover them with the bottle cap. Pull the string from the mouth of the bottle and secure everything in place using the bottle cap.
7. Coffee Canister
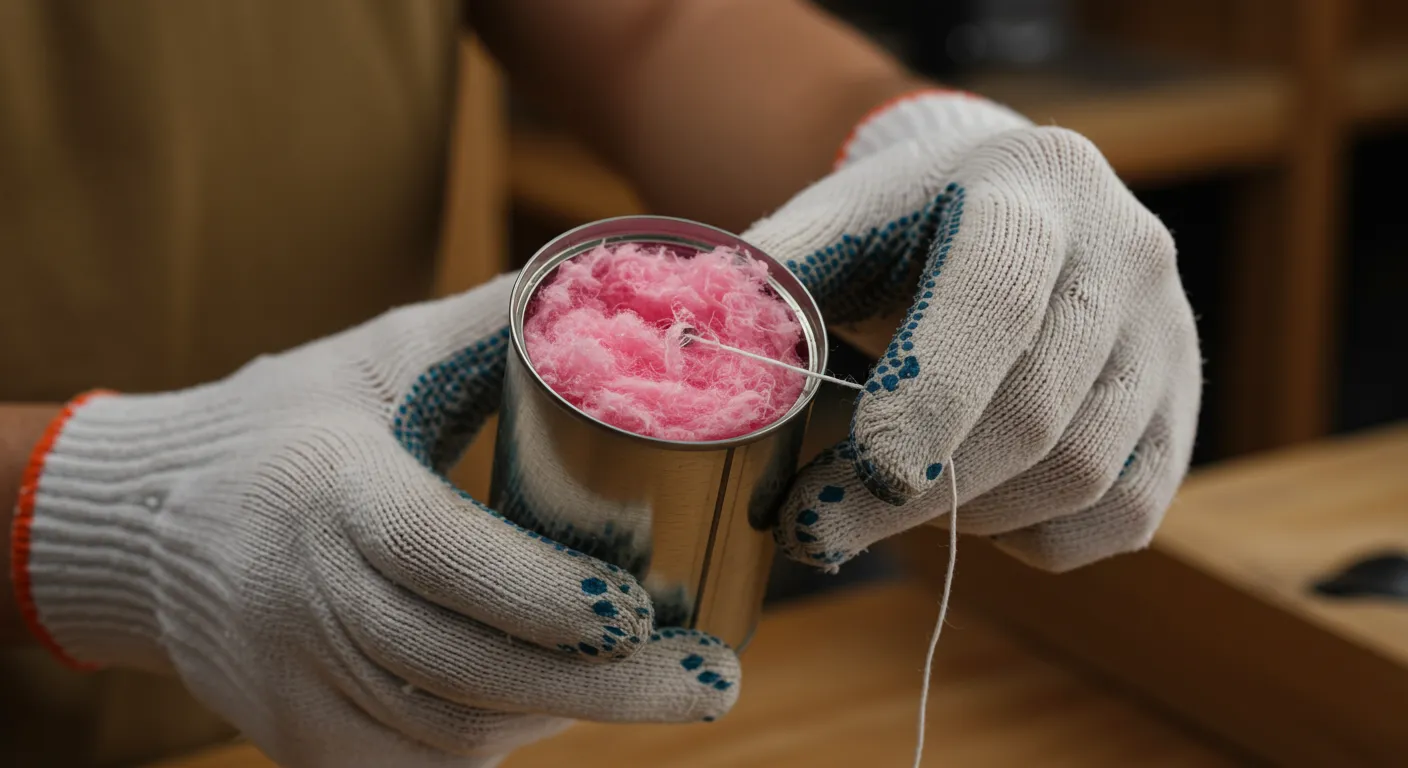
If you have a coffee canister, it’s a smart way to recycle it. Before you start the process, keep PPE handy to avoid skin irritation. The first step is to cut a hole at the bottom of the coffee can, then tie a string to the faucet, leaving a long tail. Lastly, slide the tail through the hole in the coffee can, fill the canister with pink insulation, pull it tight, and tie it off.
Conclusion
Covering the faucet during winter is a practical measure to prevent freezing, as pipes connected to it can burst. The best way to cover faucets is to use DIY methods with materials available in homes.